 Skip to content
Table of Contents
What is a CNC Pattern?
A CNC Pattern is an individual file that can be used in CNC software to make a project. The CarveDEPOT allows several file types to be added as CNC Patterns.
- Filetypes include HD.PTN, PTN, STL, DXF, and SVG. (others can be requested)
- PTN and HP.PTN are both .ptn files, but HD.PTN indicates it was created in Designer 5 or newer when the floating point z-depth was introduced. These higher resolution pattern files will not be compatible with earlier versions of Designer.
- After submitted, all PTN files are fully license protected and searchable within Designer’s Pattern Library tab. You cannot upload a previously licensed PTN file.
- More than one file type can be added to a CNC Pattern product listing but because of the licensing only one .ptn can be in the product listing.
What is a CNC Project?
A CNC Project in CarveDEPOT consists of the files and instructions for creating a complete product specifically in CarveWright’s Designer software.
- Project files contain the layouts, bit settings, and everything needed to be compiled and carved.
- Any purchased CNC Project can be compiled in Designer for a RAVEN CNC or Gcode without having to purchase Designer.
- All CNC Projects in the CarveDEPOT must be submitted using the RVN format and must not contain any previously licensed patterns. If there are previously licensed patterns it will fail to upload.
- After submitted, they are fully license protected and searchable within Designer’s Project Library tab.
Adding a CNC Pattern
This document is how to upload a CNC Pattern to the CarveDEPOT.
- Go to the vendor dashboard and click on Products and then Add New Product.
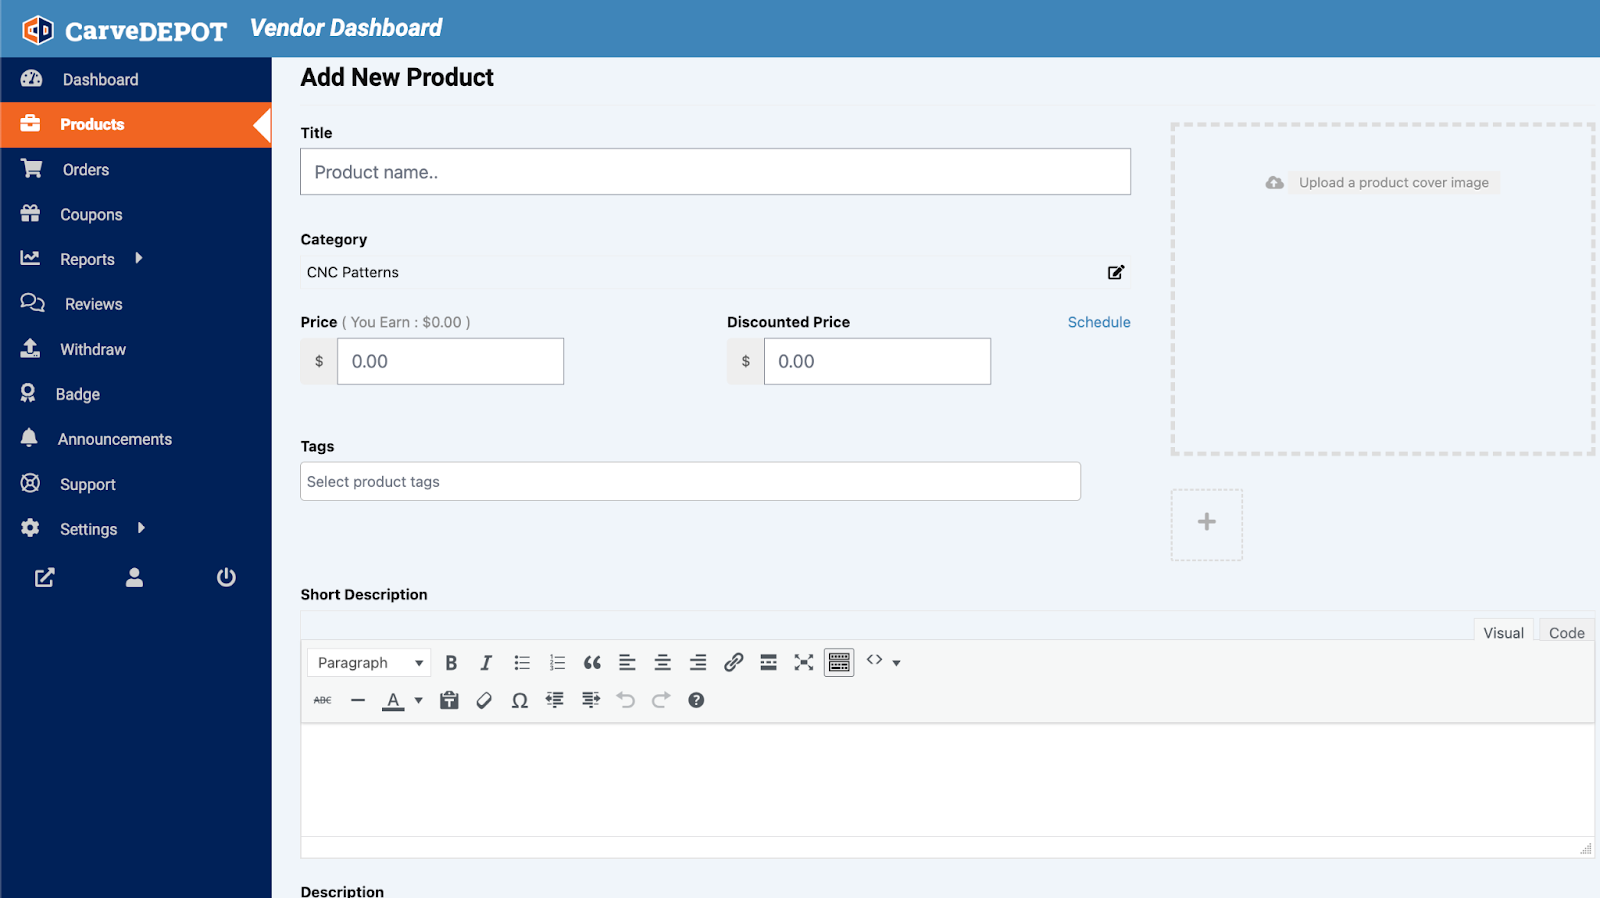
- Title: Add the title of the pattern.

- Category: Don’t do anything with this. It is automatically set by what you upload.

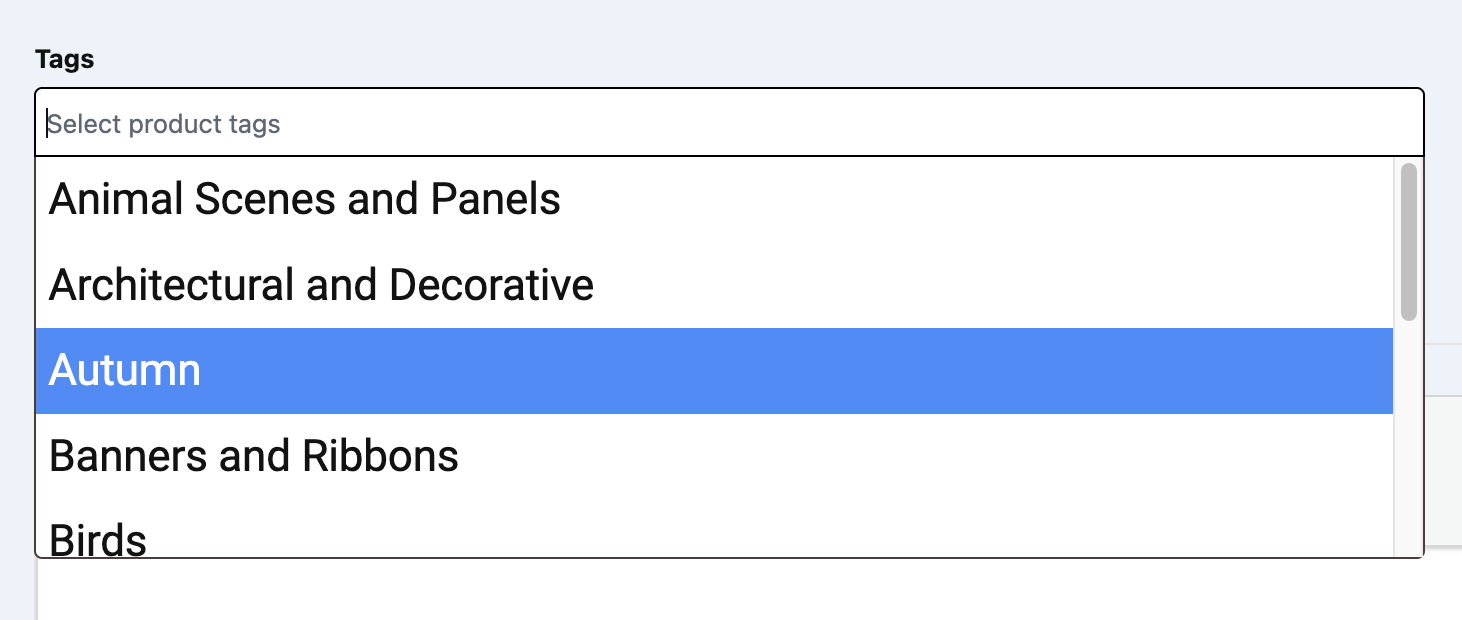
- Tags: Select the most appropriate category.
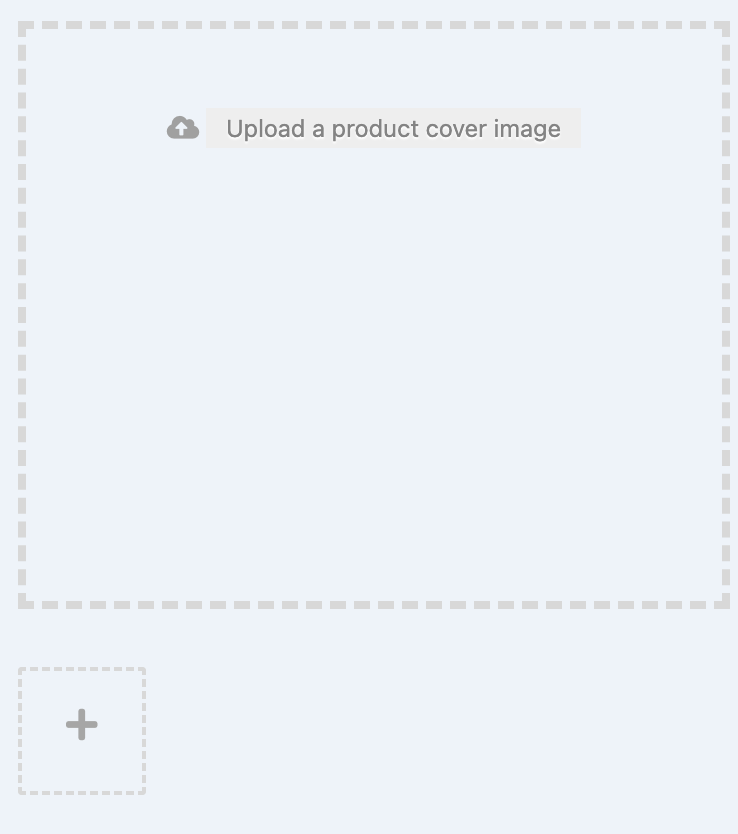
- Images: If the pattern is a .ptn format a thumbnail will be made and added to the media library after the pattern is first saved. You can add that image or provide your own by clicking “Upload product cover image” and selecting/uploading your cover image.
- Additional Images can be added by clicking on the + below the cover image.
- Images must be 1200×1200 pixels and a .JPG
- Price: Set the Price to whatever you wish. If you want to make it free add a price of “0”.
- To run a sale, use the Discounted Price to make a sale price and click Schedule to set a date range for the sale.

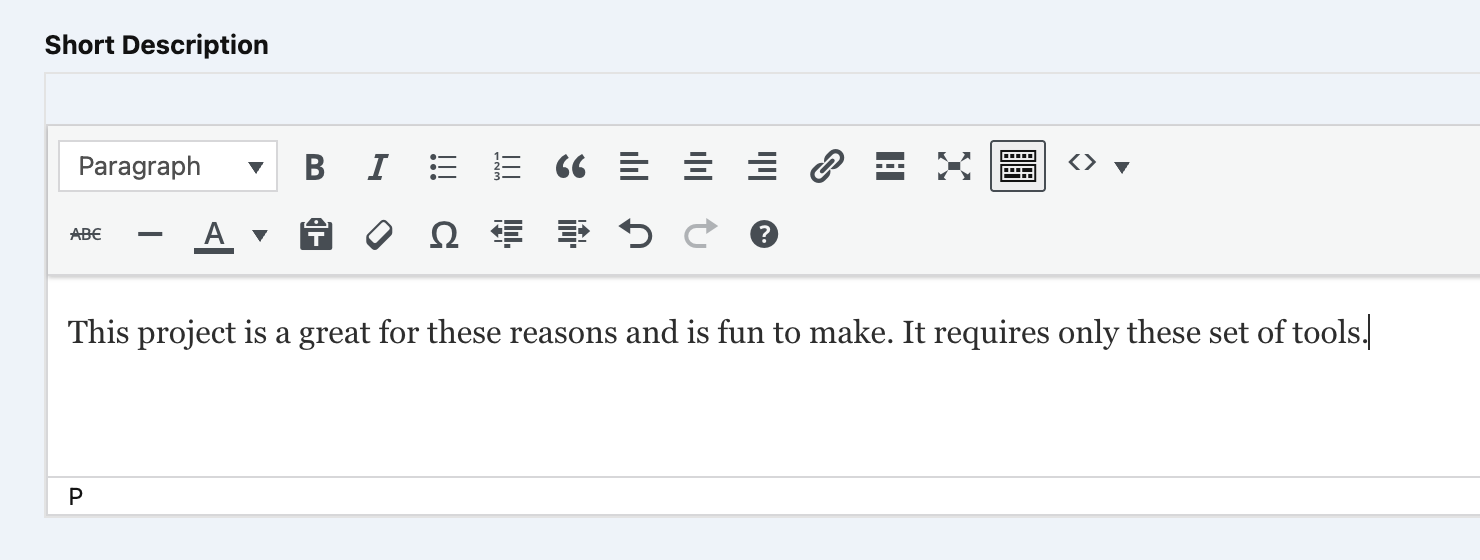
- Short Description: This is a short description that appears beside the cover image in the store.
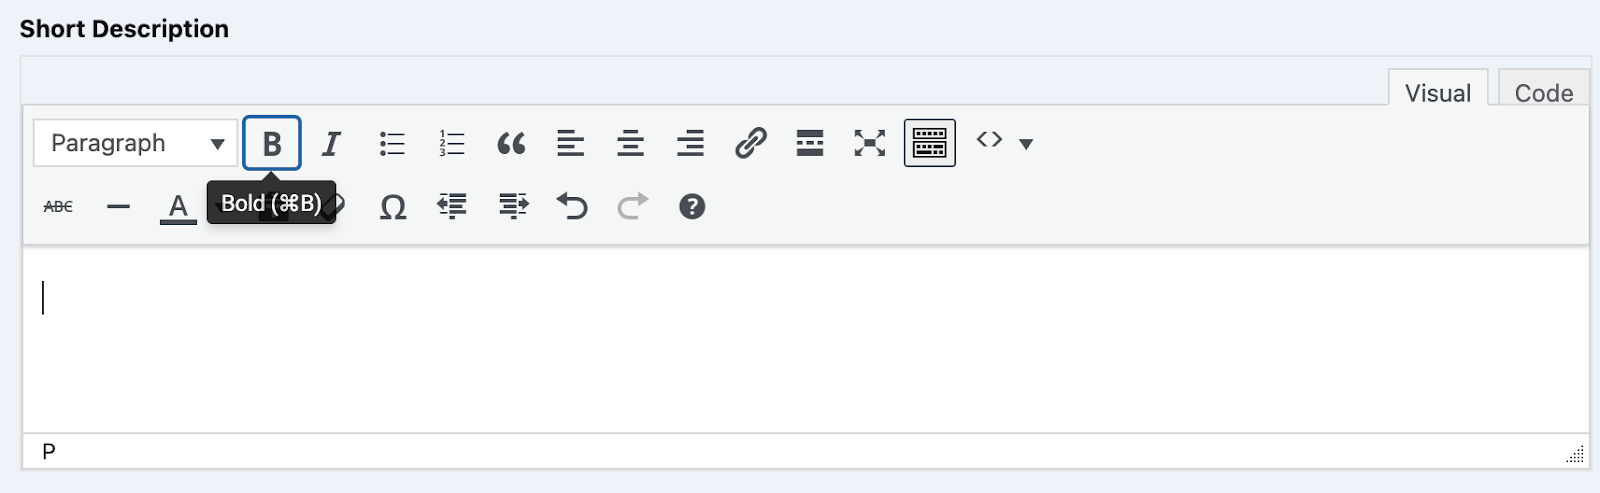
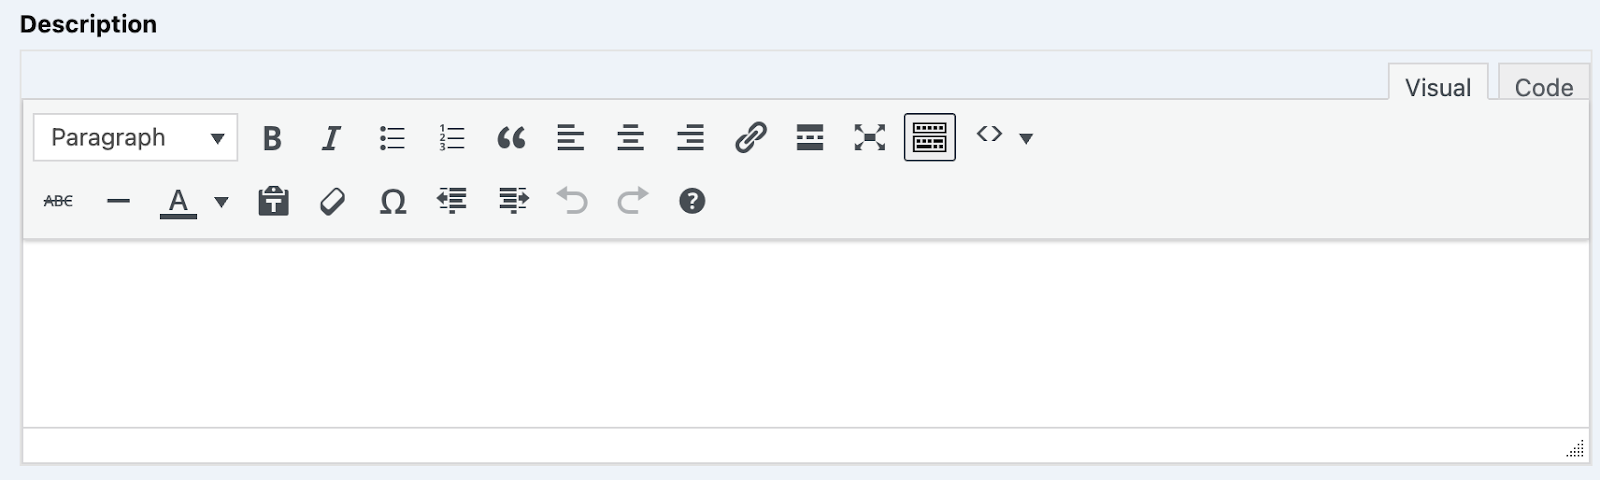
- Description: This Description is for adding detailed descriptions and appears below along with Additional Information and Reviews. You can embed videos and images in this section if you wish.
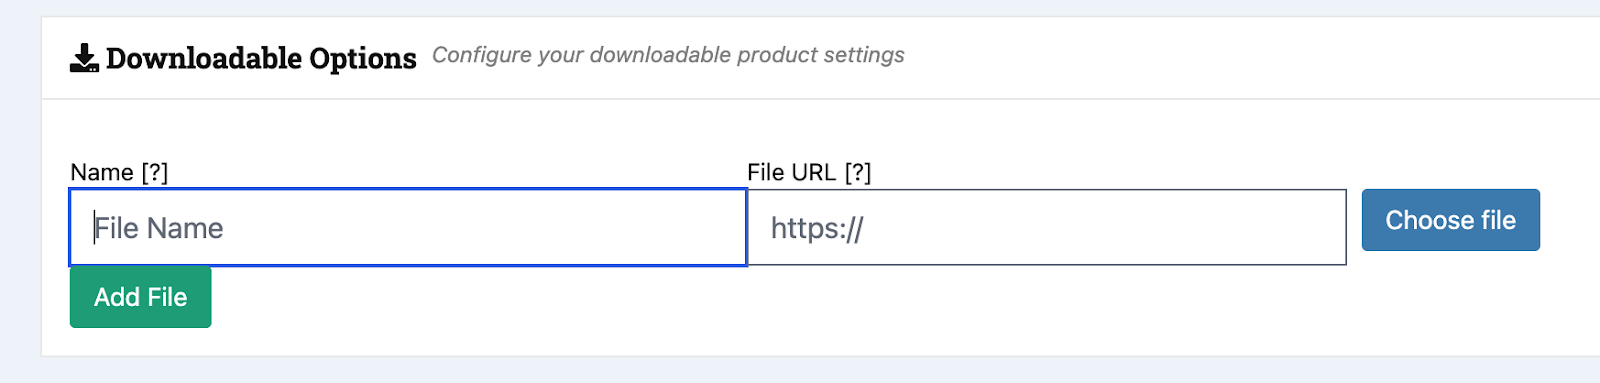
- Downloadable Options: To add your downloadable file, click on the green Add File bottom then click on the Choose file button to upload your file.
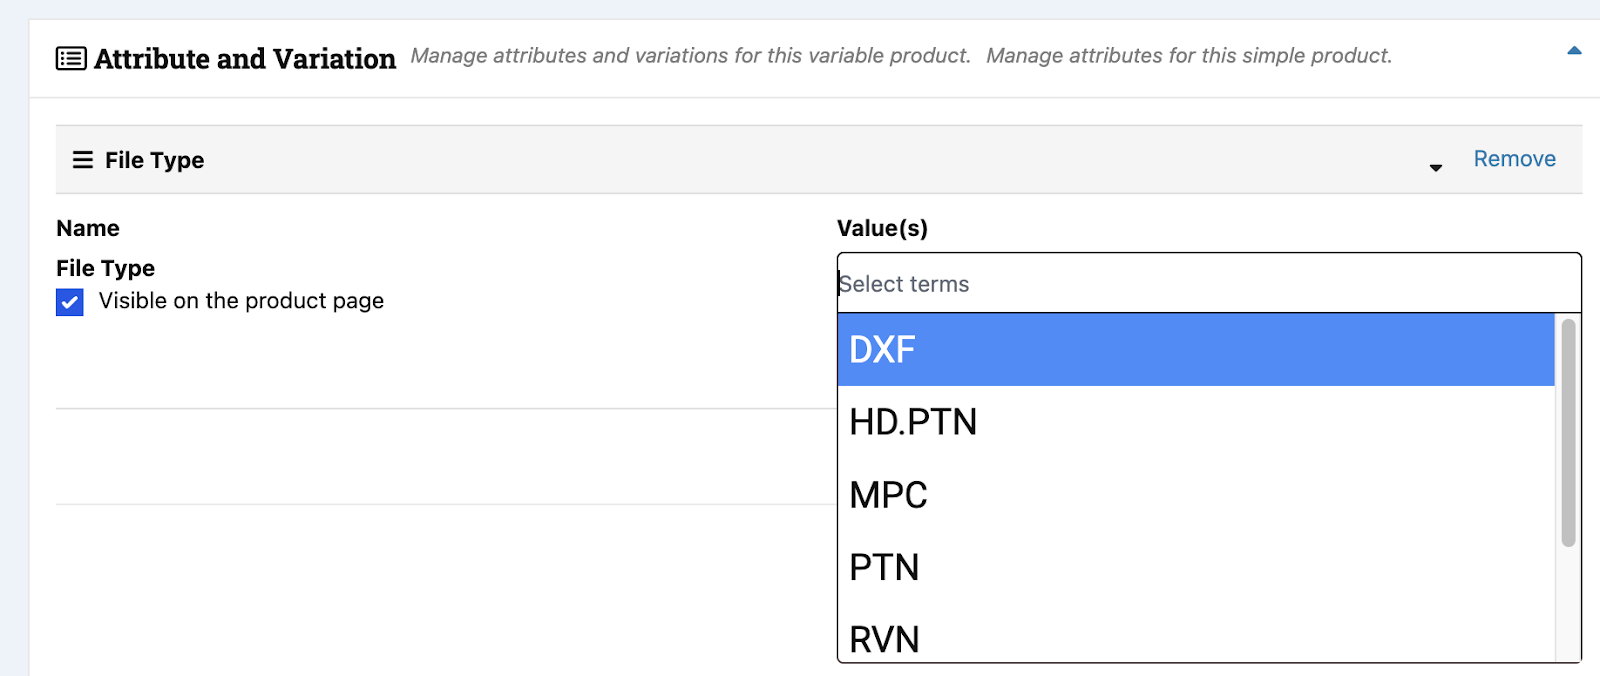
- Attributes and Variations: This is where you set the file type for your upload. Click on “Select items” under Value(s) and select your filetype.
- Finally click Save Product at the bottom of the form to create the project.
- View your product in the store to verify your information is displayed correctly. You can find and edit the product at any time from your Dashboard under products.
Adding a CNC Project
This document demonstrates the steps on how to create and package a CNC Project for CarveDEPOT.
Setting up the CNC Project
- Create your project Design in CarveWright’s Designer (v5 or newer) software.
- Run the project to confirm your settings are correct and work well.
- Document your process of making the project with photos. Aim for at least one photo per step.
- Using this basic template to create your instructions. When completed, export the instructions in a pdf format.
- Create a file folder and name the folder with the Title of the project. (If using Apple, you will need to nest the project files folder inside a parent folder with both named with the Title). Naming it with the Title of the project is very important as that is how it will display within Designer
- Place all of the project (.rvn) files and the instruction (.pdf) file in the project files folder.
- Zip the folder. (For Apple, zip the outer folder)
- Prepare the Product cover image and any additional image you wish to put on the product page (gallery images).
- Images must be square 1200×1200 pixels and a .JPG
Uploading the the CNC Project
- Go to the vendor dashboard and click on Products and then Add New Product.
- Title: Make sure this Title matches the Title you put on the folder so it will be found by the same name in the store and in Designer.
- Category: Don’t do anything with this. CNC Project will be automatically selected when you upload a ZIP file with RVN files in it.
- Tags: Select the most appropriate category.
- Images: Click “Upload product cover image” and upload your cover image.
- Additional photos can be added by clicking on the + below the cover image.
- Images must be 1200×1200 pixels and a .JPG
- Price: Set the Price to whatever you wish. If you want to make it free add a price of “0”.
- To run a sale, use the Discounted Price to make a sale price and click Schedule to set a date range for the sale.
- Short Description: This is a short description that appears beside the cover image in the store.
- Description: This Description is for adding detailed descriptions and appears below along with Additional Information and Reviews. You can embed videos and images in this section if you wish.

- Downloadable Options: To add your downloadable file, click on the green Add File bottom then click on the Choose file button to upload the Zip file.
- Attributes and Variations: This is where you set the file type for your upload. Click on “Select items” under Value(s) and select RVN.
- Finally click Save Product at the bottom of the form to create the project.
- View your product in the store to verify your information is displayed correctly. You can find and edit the product at any time from your Dashboard under products.
1 thought on “Adding Products To Your CarveDEPOT Store”
Pingback: Become a CarveDEPOT Vendor – CarveDEPOT