
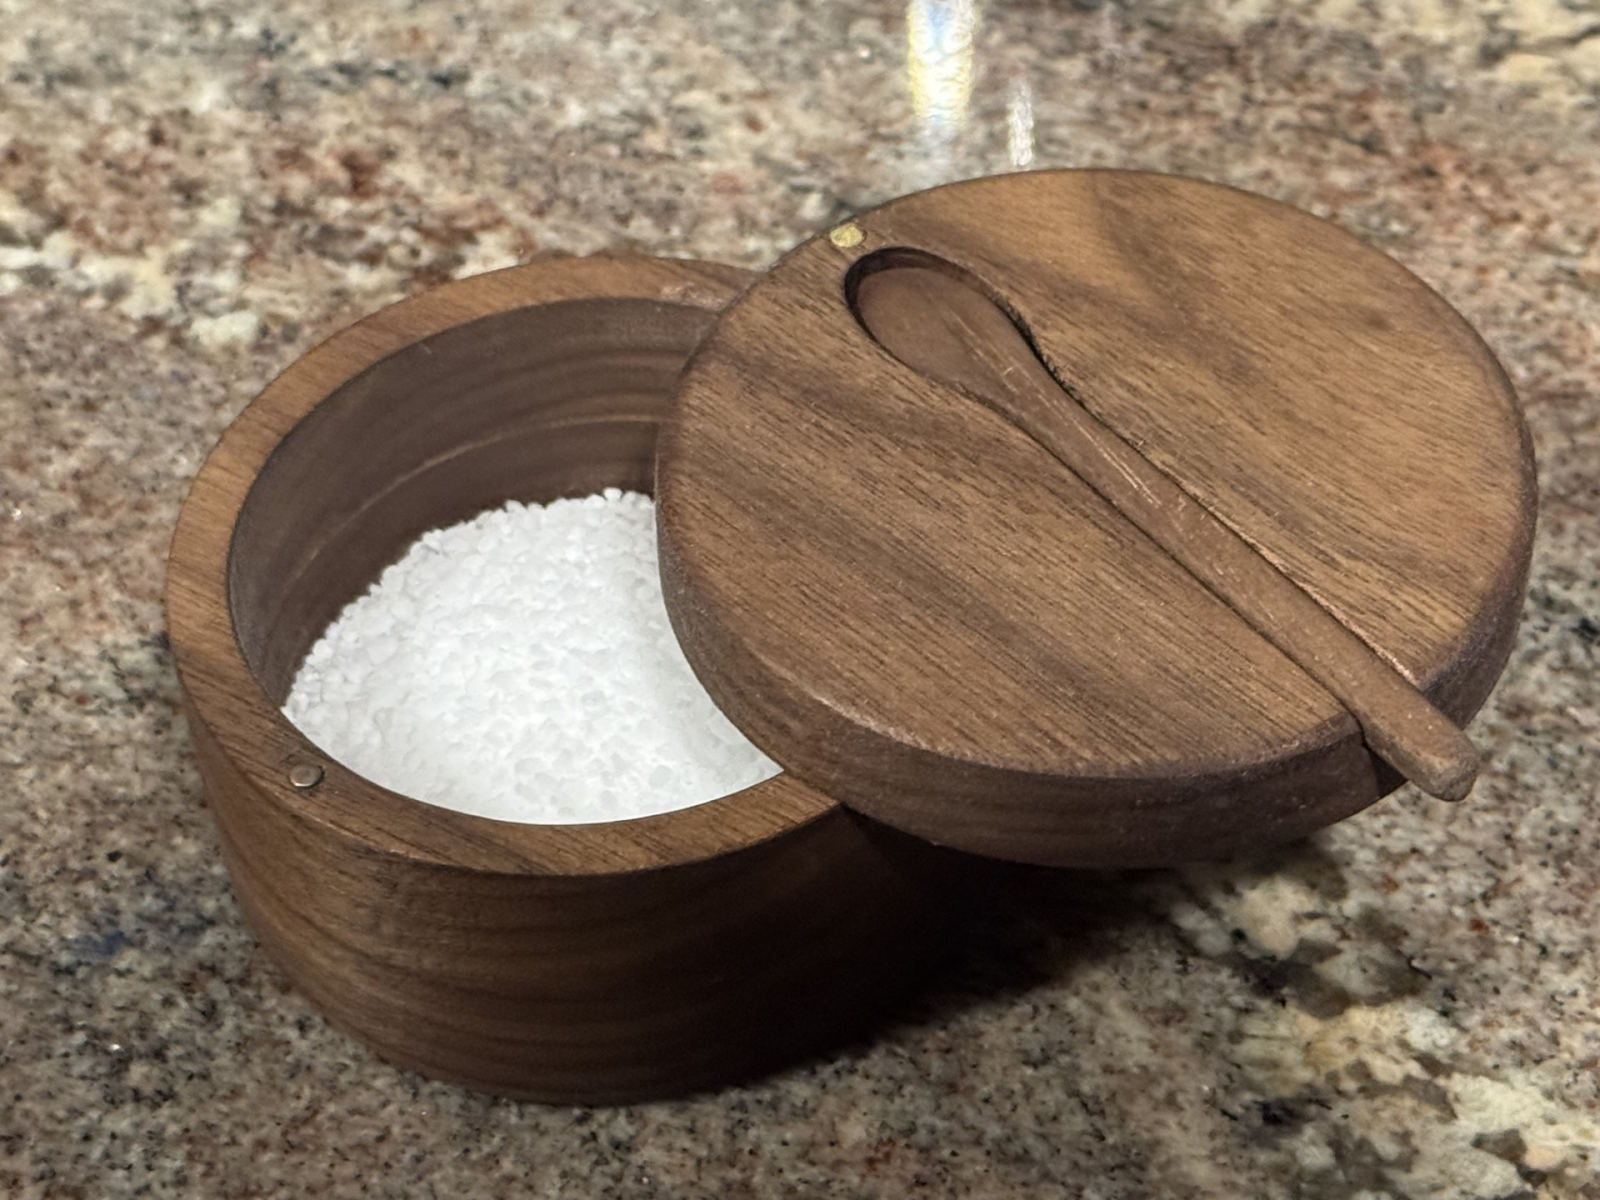
These CNC projects offer beautifully crafted salt cellar designs to suit your style—choose between a sleek, modern rounded version with a magnetic lid and matching carved spoon, or a charming sea shell-shaped cellar with nested spoon that brings a coastal flair to any kitchen. Both versions are quick and easy to carve, with included files and detailed instructions that guide you through every step. Whether you’re creating a functional piece for everyday use or a unique handmade gift, these salt cellars are a satisfying and elegant CNC project for makers of all levels.
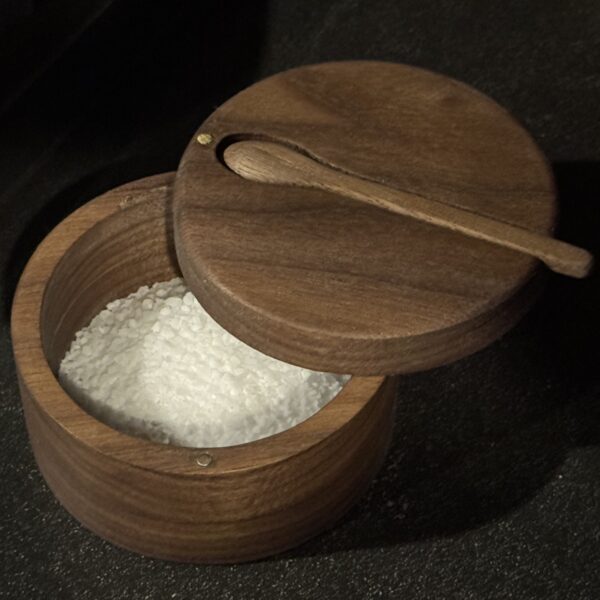
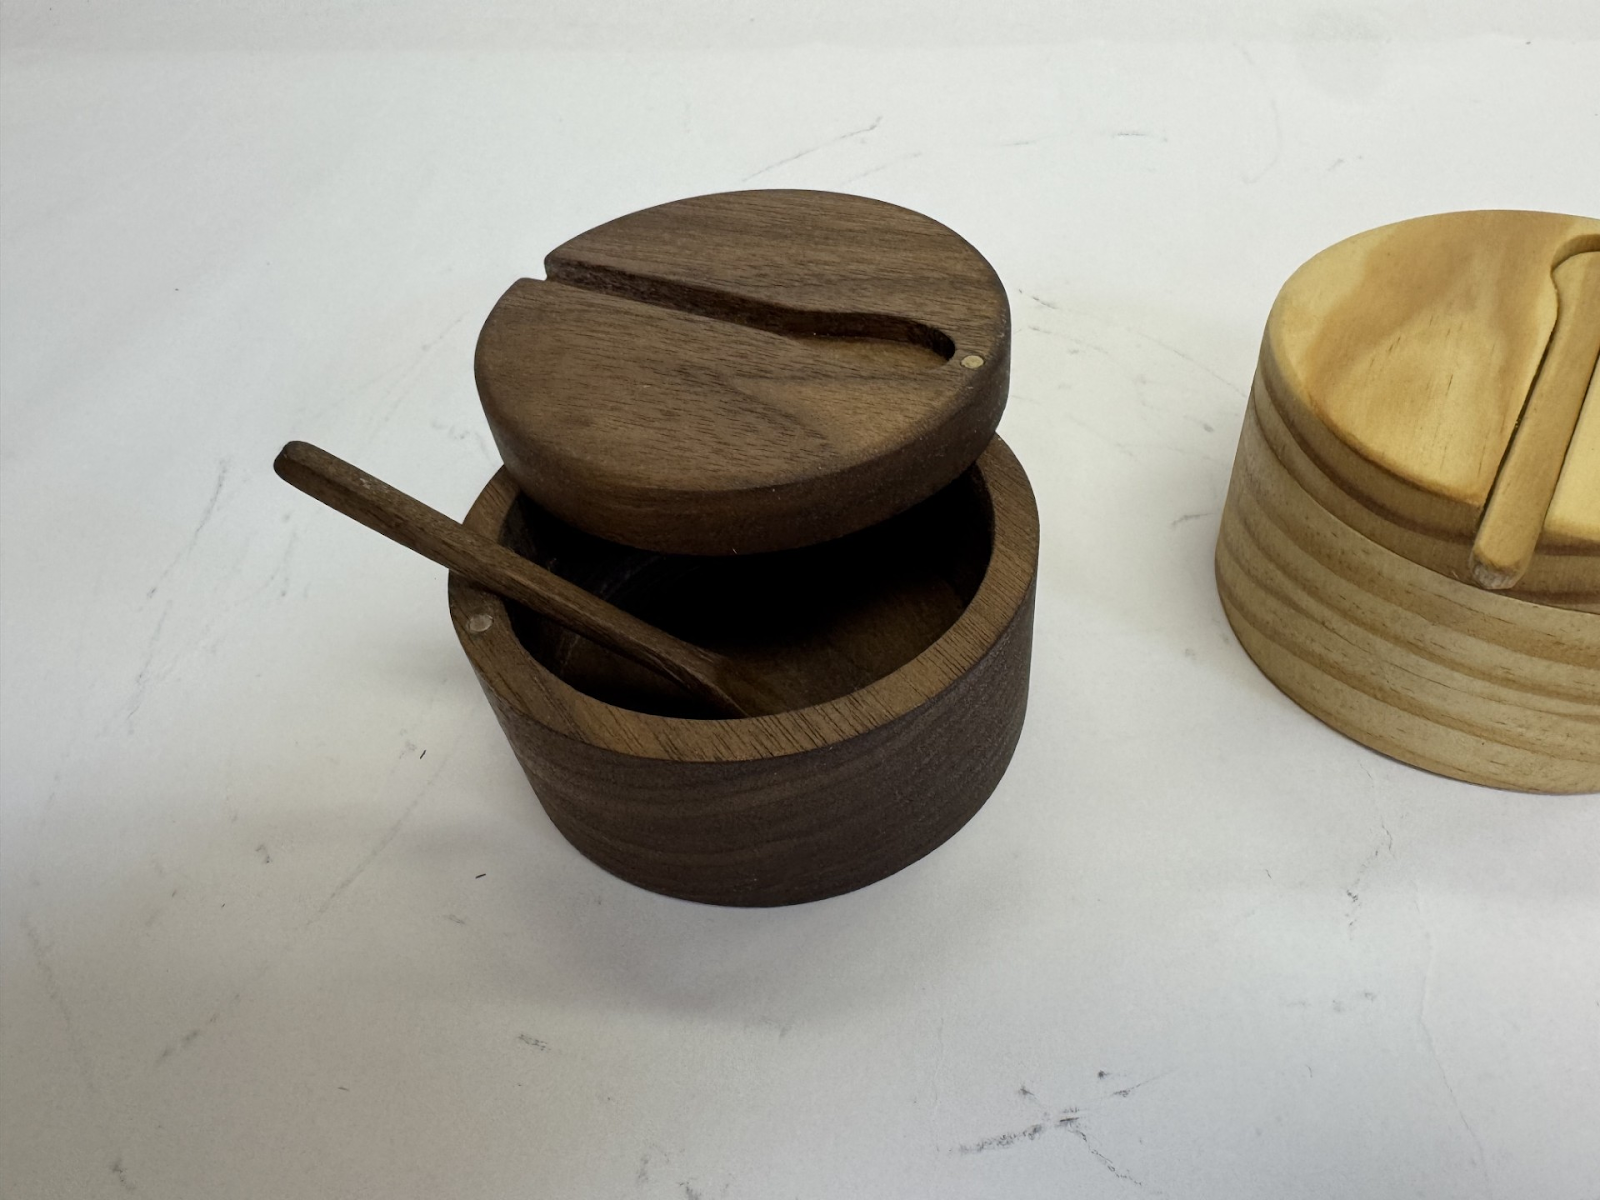
Round Salt Cellar
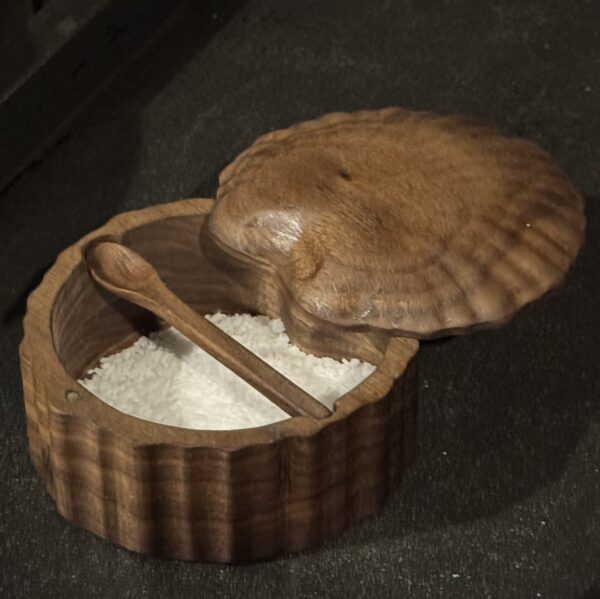
Sea Shell Salt Cellar
See How It’s Made!
There are 2 versions of this project, but for this article we are featuring the instructions for the Round Salt Cellar version. The instructions very similar for both.
ITEMS USED
- Project File (Included)
- Round Salt Cellar.rvn
- Bits:
- 1/16” Carving Bit
- 3/16” Cutting Bit
- 1/8” Cutting Bit
- Boards needed:
- .75” x 5.5” x 11.5” (1×6)
- Other Needed Items:
- Sandpaper, waterproof wood glue, CA glue (superglue), food safe wood finish
- 1/8” brass rod
- 1/8” diameter magnets
- Recommended Items:
- Large 240 grit sanding mop
- A Dremel-type rotary tool with assorted sanding wheels and bits
STEP 1 – Upload Project
Open the Designer software then open the included project file and compile it.

This project was created to use the RAVEN Universal jig. If you are not running the project in the Universal jig be sure to compile the board so that it will be kept under rollers.
Only the spoon is cut using a raster so the quality setting makes little difference in time. Select Good for softwood and Best for hardwood.
NOTE: Carve times are as follows:
- Good – 45 mins
- Best – 51 mins
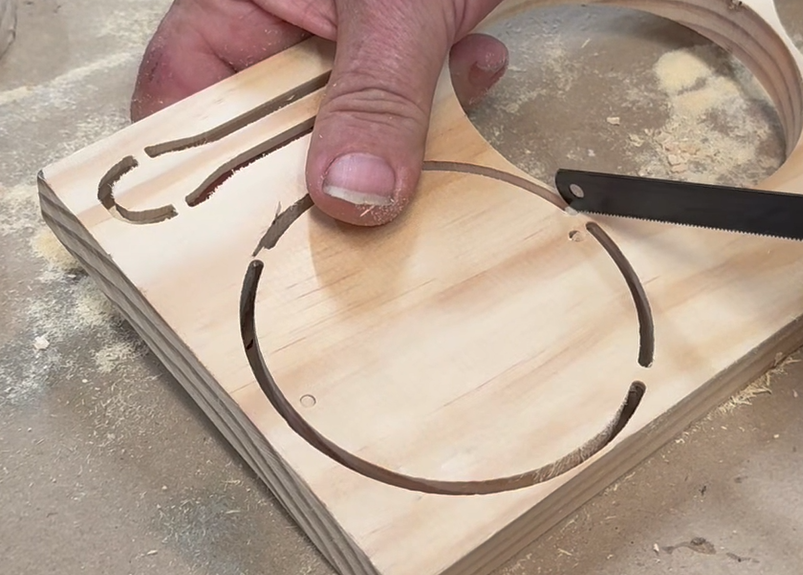
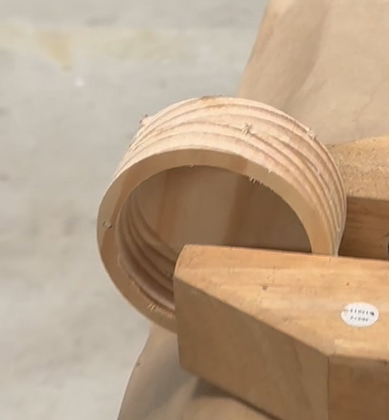
STEP 2 – Separate the Parts
Separate all the pieces from the tabs using a small side cutter, thin saw blade or a sharp chisel.
STEP 3 – Assembly
Glue the middle and bottom section together using a water proof glue.
Press the 1/8” magnets into the base and the top. Make sure you have the polarity correct so that the top and the bottom are attracted.
Cut a 1 inch length of the 1/8” brass rod, put a drop of super glue in the hole in the top and press the rod in so that it just protrudes from the top surface.
The top is assembled by pressing the brass rod into the base.
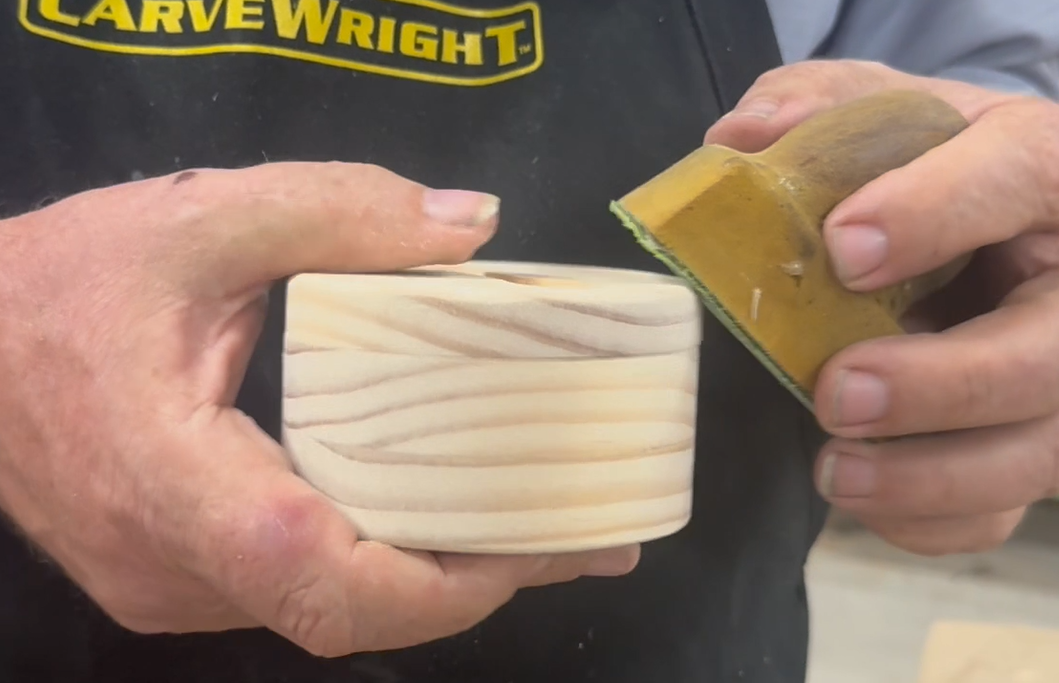
STEP 4 – Sanding
An easy way to sand this project is to place the full assembly on a tabe and run a power sander against its side while slowly rotating the project. Do this until all seams and mill marks are gone.
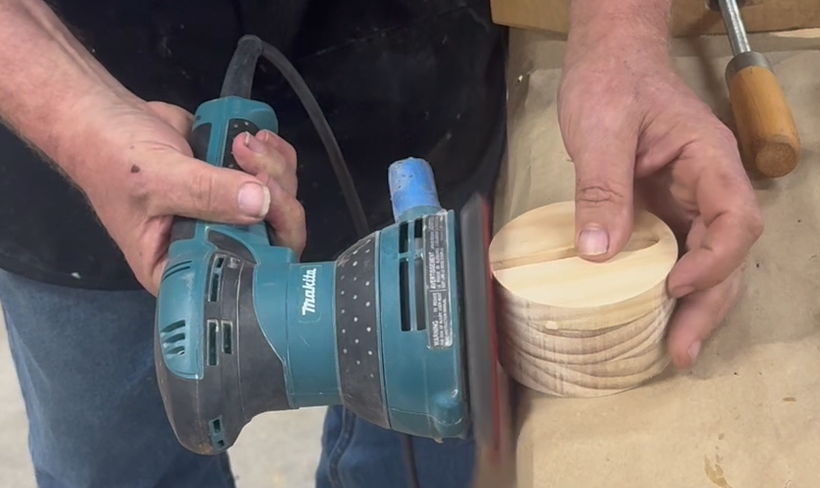
Next sand the top and round over the edge.
Shape the bottom side of the spoon.

STEP 4 – Finishing
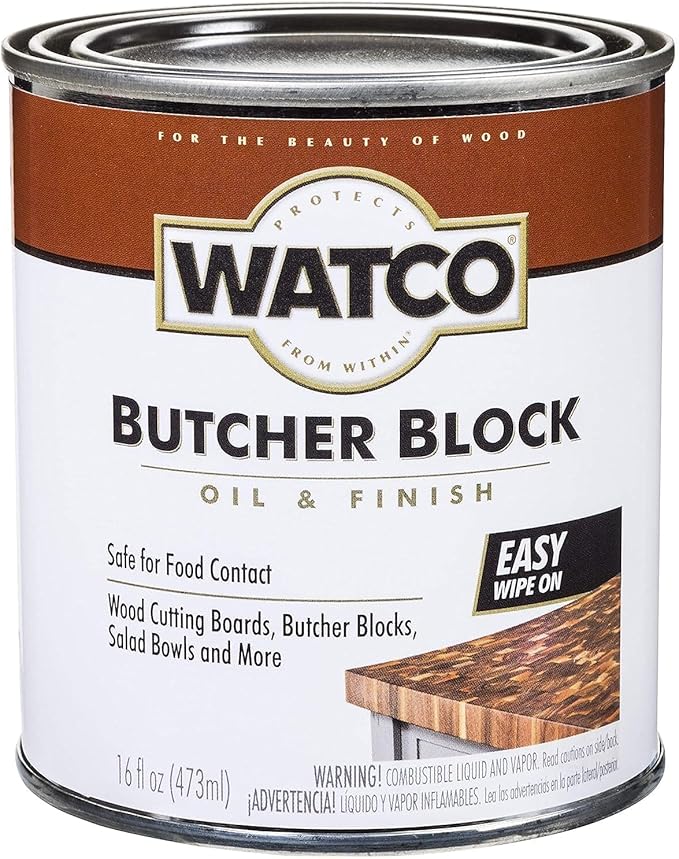
Finish the project with any food safe finish. I used Watco Butcher Block Oil & Finish on these parts.

FINAL
We hope you’ve enjoyed this project and it gave you as much pleasure as it gave us to design and make it.
Thanks!
![]()